How Not to Fight with The Solar Cover:


Chop It Up!


Our above-ground pool is 15 ft x 30 ft. We live in Pennsylvania where the night temperatures in August fall below 60 F which quickly makes for very chilly water. The solar cover does an excellent job of retaining heat overnight as well as warming the pool during the day but it really is nasty to put on and remove, even with two people. Because most days there's just one of us available we needed to find a solution to the solar cover management. We hope that the photos and descriptions of the process are of some use to you.

Materials needed:

(1) Solar cover roughly cut to fit the water surface.

(3) 3 inch styrofoam balls from the craft store

Sections of nylons, knee highs, old skimmer socks . . . anything to contain the balls

(1) 1/2 inch Grommet kit

Gorilla tape

The first step was to put the original, huge rectangular cover to lay flat on the water surface. We then cut it to fit the inside dimensions of the pool as precisely as we could. After that, we cut it into five sections: one each at the rounded ends of the pool and three 15 foot long and approximately 3 foot wide center sections.

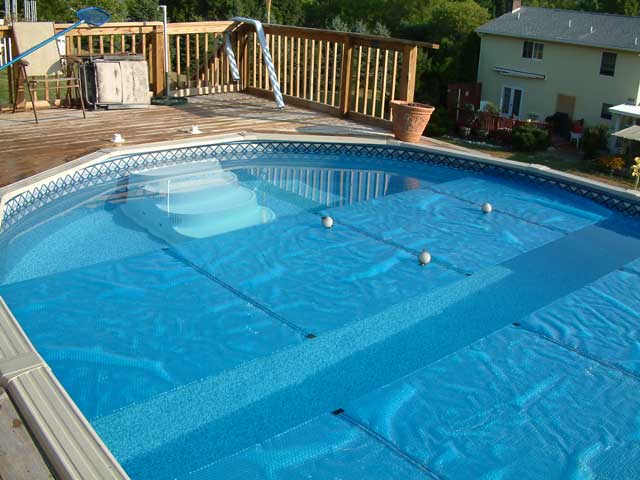
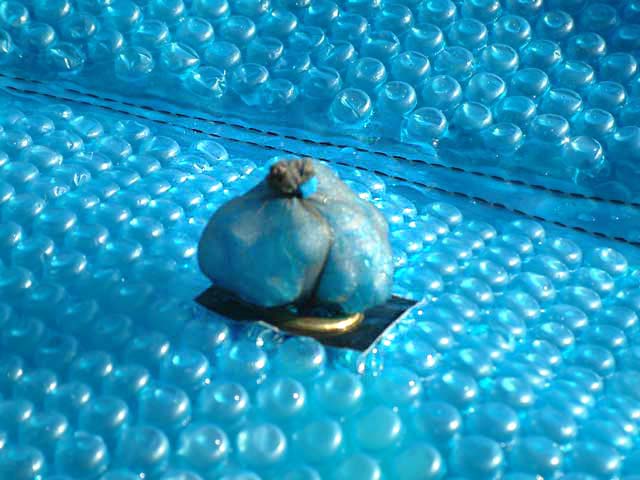
This shows one of the rectangular center pieces. It was our test piece when we thought we needed 3 balls for situating it on the water. We were wrong.

Note that we taped the stitching after cutting the sections, to keep it from unraveling. We used Gorilla tape.

Removal of the piece is easy. I pick up the end and pull backward until I have 3 or 4 feet of cover. This I then accordion-fold as I pull the remainder out of the water.

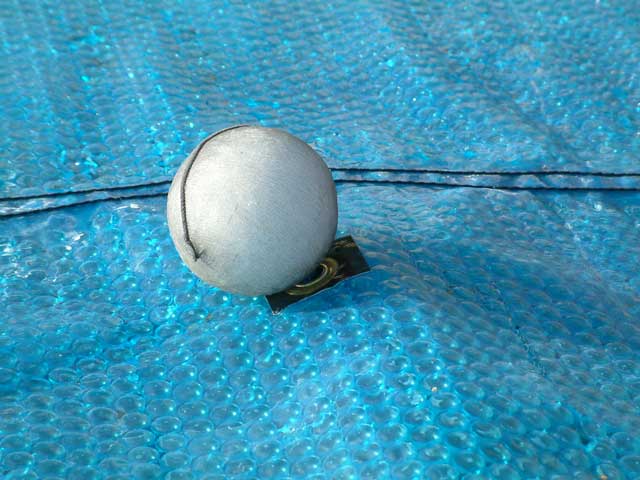
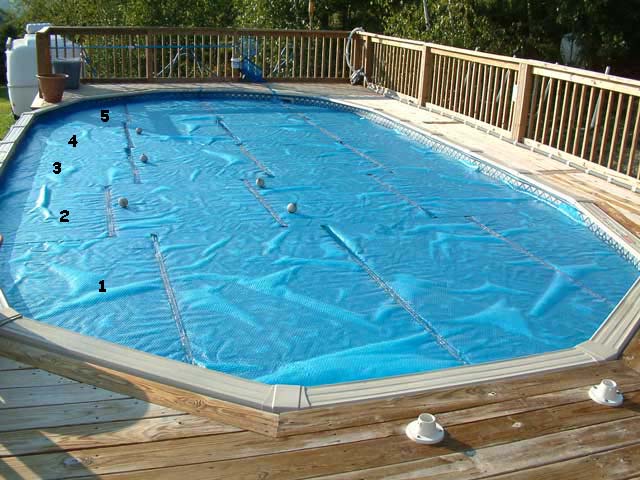
We placed the balls in the far third of each section which is how far I can reach across the pool with the net pole. To make the holes, pat both sides of the cover dry. Cut a 2 inch strip of tape and press it down on the flat side of the cover. Punture the bubbles on the other side to make it flat and stick another piece of tape down. Install the grommet.

Put the ball inside a nylon and thread it through the grommet so the ball is on the flat (non-bubble) side of the cover.

To hold the ball in place we first tied it off with a narrow electrical tie up close against the grommet on the bubble side. Then we fashioned a washer of sorts by stuffing a snippet of leftover cover in the nylon, fastened that with a tie, and cut the nylon off.

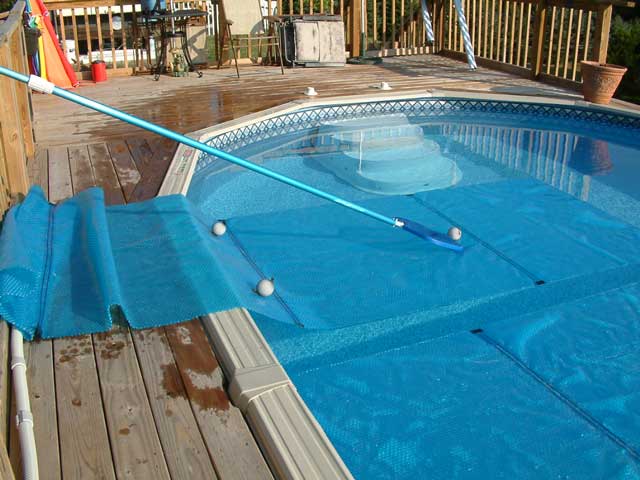
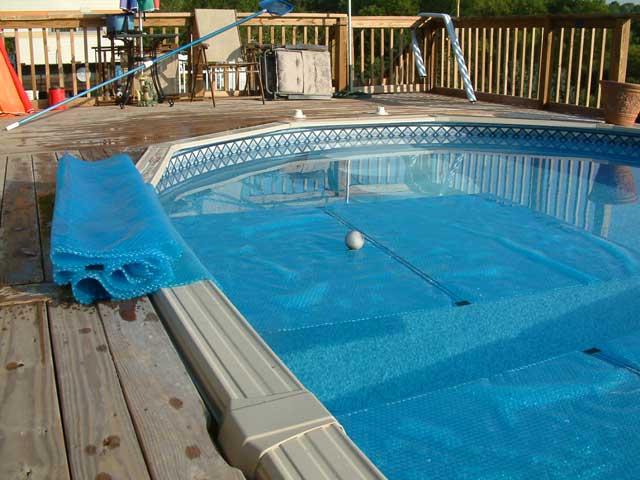
To put the section on the water I float about three feet of cover, easy to do because it was nicely folded when I last removed it. Now I take my net pole, set it against the ball and gently push the whole thing toward the other side of the pool. Because of the adhesion of the bubble wrap to the water surface everything is very well behaved, floats nicely, and is in place in fewer than 20 seconds per section.

The rounded end pieces have no balls because they're easily reached from the edge of the pool and folded up. I put the sections on in sequence: step piece, three center sections, end piece by the water return.

We store the sections on large aluminum hooks over which we put PVC pipe to lengthen the short end of the hook and to protect the cover

A great resource for anything related to the care and maintenance of pools is Ben Powell's Pool Forum.
Come and visit, read, learn, join up and share your experiences and knowledge.

Images and site content copyright Anka Andrews 2006 - 2010. This site is maximized for viewing with Firefox.